Advance Bodywork; Remain Unfrozen
Winter hit Indiana like a ton of bricks. One day I was enjoying the cooler garage and not having to use fans out there. The next day it was suddenly cold enough to require a serious accumulation of gumption to get myself to go out to the garage.

Above: these are 3d printed mockups of the door hinges. The design borrows heavily from the hinges that are sold by Quantum Sports Cars for their new/updated version of the car. The doors on the older ANC/Replicar version are angled on the vertical edges, as is the door pocket where I plan to mount the hinge bracket, so I could not have directly used the Quantum hinges. I think it will be necessary to weld some vertical rods or braces between the upper and lower hinges to stiffen the assembly (Pops says use threaded rods and bolt them in, which is probably wisdom).
When I taped these hinges in place, it appeared that they would work. So today it was time to upload all the CAD files to Send-Cut-Send. There were the usual disputes between my computer and Send-Cut-Send's computer, but in the end we were able to make peace and get the order placed.

Headlights
Above: inexpensive tool comes through. There are several ways to cut these headlight holes, most of them a hassle, messy, or both. This wasn't ideal - there was a lot of tool chatter and it threw nasty fiberglass chips everywhere. But it got the job done quickly and pretty well.
Finding the centers was the tricky part. These headlight buckets aren't exactly circular and most of the geometric methods of finding the center of a circle require access to the plane outside the circle, which isn't available here. My solution was to use Solidworks (theme of the week) to draw as big a circle as would fit in this space, mark the center, print it, cut it out, and center it in the space by eyeball-guesstimation.

Another unnecessarily picky styling move: I replaced the headlight lenses with something plausibly vintage-looking. They're LED headlights because I like to see at night, and you don't have to look all that close to realize these aren't sealed beam incandescents. But it won't scream "I DON'T BELONG HERE! I'M NOT 1950s TECH!" to someone causally meandering past the car.
Back to Hinges

I'd love to say I got my SendCutSend parts and immediately assembled them without any problems but that would be not entirely (or at all) true. For the assemblies above, I didn't get the part that bonds up to the car body quite right. Bend orders are always tricky.
These assemblies feel extremely stiff so these may work just the way they are - but then again a door has a long suspended lever arm so we'll see. If additional rigidity is needed, I can pass stainless steel rods vertically through some of the holes and weld them in place.

Rob from Quantum Sports Cars suggested that I use ball thrust bearings for these hinges. This was good advice: they are very smooth.
Boot/bonnet (Trunk/hood) Hinges

If you have the slightest fastener nerd tendencies, these precision brass shoulder bolts from McMaster-Carr are pleasing on a visceral level. They make much better axles than threaded fasteners. I'll need to clean up the laser cut edges and polish these aluminum parts to get them looking nice.
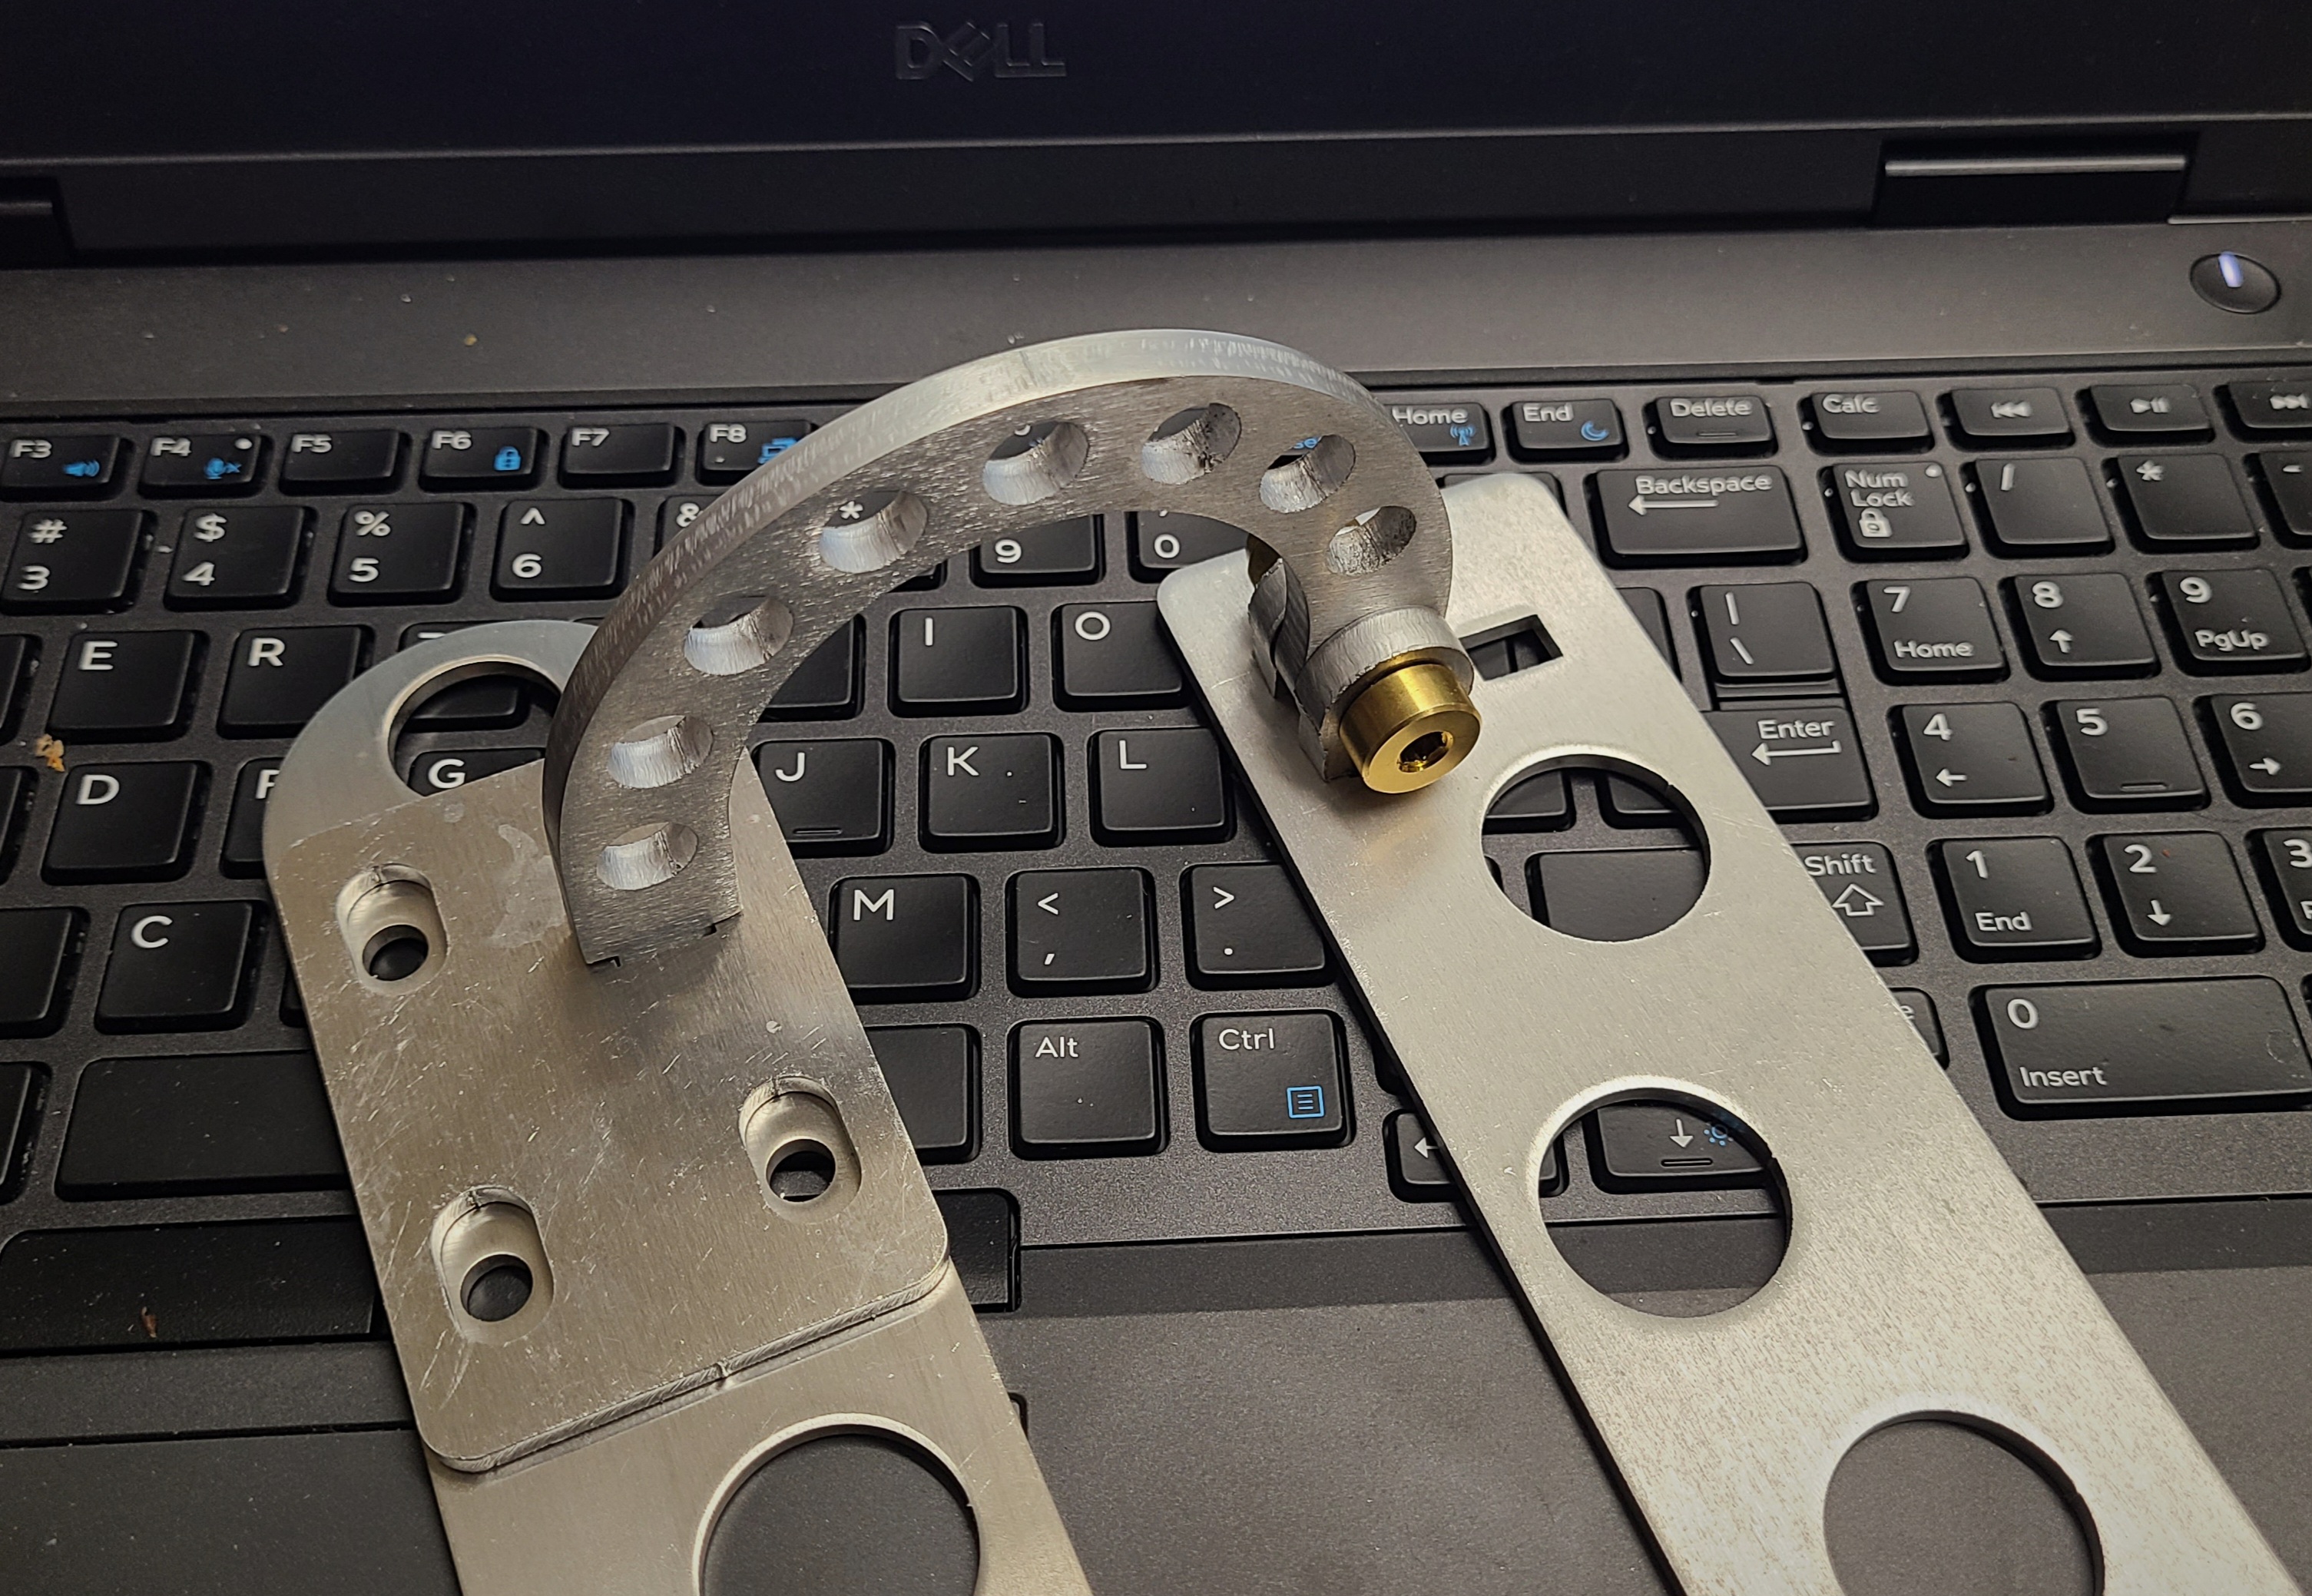
The longer pieces with the large holes will get bonded into the bodywork with fiberglass and kevlar. Another C-hinge assembly goes at the opposite end. I will tap the small round holes on the left and install studs (probably spot weld them in place). The plate that sits on top of these (well, it will be the bottom when this is all installed) has larger oblong shaped holes to allow for some adjustment between the boot/bonnet and the body.

When you need a precision hole there's nothing like a ream. After cleaning up the laser cut holes, these hinges operate smooth as buttah.
Back to the Fuel Cap Recess

I had a couple days of moderate weather to prepare this area to lay fiberglass and make a mold. I started with a couple of layers of mold release wax then sprayed on PVA. I've always struggled to get PVA to go on smoothly - it wants to bead up in to big drops then dry like that. A YouTube video (of course) provided some tips for how to spray PVA more effectively. Unlike spraying paint or primer, the YouTuber said, you want to shoot mostly air with just a very small amount of product building up in very light coats. It's not perfect, but this is the smoothest application of PVA I've ever managed.
Then just as I was about to start the lay up, it got brutally cold again. Not just cold enough wonder whether the epoxy would cure properly, but cold enough to raise frostbite concerns. Will have to wait for the weather to moderate before the next step.
Comments
Post a Comment